
Last updated June 28, 2026
Garage Door Repair Maintenance Checklist for Northridge Homeowners
Here’s something we see constantly in Northridge: a homeowner calls us for what feels like a sudden, out-of-nowhere breakdown — a snapped spring, a roller that jumped the track, a sensor that stopped responding. In nearly every case, the warning sign was there six weeks earlier. The problem isn’t neglect. It’s not knowing what to look for. A two-minute visual check, done at the right time and in the right sequence, can tell you whether your door is healthy or quietly building toward a failure. This guide gives you exactly that checklist — built around the specific failure points Anthony Thompson finds most often on Northridge homes, with clear pass/fail criteria you can judge yourself.
Quick Answer
A complete garage door maintenance check for a Northridge home takes about 15 minutes and should be done twice a year — once before summer heat peaks in June and once before the rainy season begins in November. The checklist covers springs, rollers, tracks, cables, weather seals, opener operation, and auto-reverse safety sensors. Most items are visual inspections a homeowner can do safely; spring tension adjustment and cable work should always go to a licensed pro.
Table of Contents
- 1. Spring Inspection: What to Look For Without Touching Anything
- 2. Roller and Track Check: The San Fernando Valley Dust Factor
- 3. Lubrication: What Actually Works in Northridge’s Dry Valley Heat
- 4. Cables, Brackets, and Hardware: The Overlooked Safety Check
- 5. Auto-Reverse and Sensor Alignment: Pass/Fail Criteria
- 6. Weather Seals and Bottom Seal: More Important Than You Think
- 7. Opener Performance Check: Balance Test and Force Settings
- 8. Seasonal Timing: Which Checks Matter Most and When
- Common Mistakes to Avoid
- When to Call a Professional
- Frequently Asked Questions
- The Bottom Line
1. Spring Inspection: What to Look For Without Touching Anything
Torsion springs are the single most dangerous component on your garage door, and they’re also the component that fails most predictably — if you know what early wear looks like. The rule here is simple: look, don’t touch. Spring adjustment is not a DIY task. A torsion spring under full tension stores enough energy to cause serious injury. But you can absolutely inspect it safely from the floor.
Here’s what a passing spring looks like: the coils are evenly spaced across the entire length of the spring, with no gaps, no separation, and no visible rust streaking along the metal. A failing or near-failure spring shows one or more of these warning signs:
- Gap in the coils: A visible space in the middle or near the end of the spring means the spring has already cracked or is on the verge of breaking. This door is days — sometimes hours — from not opening at all.
- Rust or corrosion: Surface rust weakens the steel structure of the coil. In Northridge, where summer temperatures regularly push past 100°F, thermal cycling accelerates metal fatigue. Springs on homes in Northridge’s older neighborhoods near Reseda Boulevard and Devonshire Street often show rust after 5–7 years without lubrication.
- Uneven coil spacing: If the gaps between coils look inconsistent — tight in some spots, spread in others — the spring is losing its calibrated tension and will soon fail under load.
- Squeak or pop during operation: A spring that makes noise when the door moves is signaling metal fatigue. Silence is normal; creaking is not.
Most residential torsion springs are rated for 10,000 to 15,000 cycles. If your door opens and closes four times a day, that’s roughly 7–10 years of life. In our eight years of Garage Door Repair in Northridge, Anthony has replaced thousands of springs — the ones that fail catastrophically are almost always springs that showed visible gap or rust at the previous inspection and weren’t addressed.
2. Roller and Track Check: The San Fernando Valley Dust Factor
Northridge sits on the floor of the San Fernando Valley, and the Valley’s combination of dry summers, Santa Ana wind events, and low-lying geography means your garage door’s rollers and tracks accumulate grit and debris at a rate significantly higher than coastal or foothill communities. We’re not exaggerating when we say that a Northridge garage door’s rollers can accumulate the same debris load in six months that a Santa Monica door sees in two years.
Here’s how to inspect rollers and tracks properly:
- Open the door manually (pull the emergency release cord) and walk the full length of both vertical tracks from floor to the horizontal bend.
- Look for track dents, bends, or gaps at the mounting brackets. A track that’s bent even slightly — enough to create a 1/4-inch gap from the door panel — will cause the rollers to bind, which puts stress on the opener motor and cables.
- Check each roller wheel. Nylon rollers (standard on most Clopay, Amarr, and Wayne Dalton doors) should spin freely with no wobble and no visible cracking on the wheel rim. Steel rollers should spin without grinding. A roller that doesn’t spin freely is dragging on the track — that’s extra load your opener is fighting every cycle.
- Clear debris from the track interior. Use a dry rag to wipe the inside channel of both vertical tracks. If you pull out sand, dried leaves, or compacted grit, you’ve found exactly why your door has been running louder than usual.
- Check roller stem bolts. Each roller is attached to a stem that runs through a bracket. If the stem wobbles side to side, the bracket bolt has loosened. Hand-tighten any loose bolts — but do not over-torque, and do not adjust the cable drum brackets or bottom fixture brackets yourself.
Pass: All rollers spin freely, track is clear, no visible dents or separation at brackets.
Fail: Any roller is cracked, seized, or wobbling; any track segment shows a dent or gap; debris is packed into the track channel.
3. Lubrication: What Actually Works in Northridge’s Dry Valley Heat
Walk into any big-box hardware store and you’ll find WD-40 front and center in the hardware aisle. WD-40 is a solvent and water displacer — it is not a lubricant for garage door components, and it’s one of the most common causes of accelerated wear we find on doors in Northridge. It evaporates quickly in dry heat, leaves behind residue that attracts dust, and actually strips the protective coating from nylon rollers.
What you want is a silicone-based or lithium-based garage door lubricant — sold as a spray, available at hardware stores, and significantly less expensive than a service call to fix a seized roller at 7 PM. In the San Fernando Valley’s climate, we recommend a lithium grease spray for metal components and a silicone spray for nylon rollers and weather seals.
What to lubricate and how:
- Torsion spring: Apply a thin coat of lithium grease along the full coil length. Wipe away excess. This slows oxidation — critical given Northridge’s summer heat cycles.
- Roller stems (not the wheel): Apply lubricant to the stem where it meets the bracket, not to the nylon wheel itself. Lubricant on nylon wheels causes them to attract grit.
- Hinges: Apply a small amount of lithium spray at the pivot point of each hinge. Listen for the change in sound during operation — properly lubricated hinges are noticeably quieter.
- Top of the door tracks (horizontal section only): A light coat along the horizontal track helps rollers transition smoothly at the bend. Do not lubricate the vertical track sections — that causes the door to drift.
- Lock cylinder: A small amount of silicone spray in the keyhole keeps the manual lock from seizing in dry weather.
Lubrication schedule: Every six months in Northridge. Before summer (May) and before the rainy season (October) are the two dates to put on your calendar.
4. Cables, Brackets, and Hardware: The Overlooked Safety Check
Lift cables and bottom brackets are the components homeowners look at least — and they’re the ones that can cause the door to drop if they fail. This is a visual-only inspection. Do not attempt to adjust or detach any cable.
What to look for on cables:
- Fraying or unraveling: Look along the full length of each cable (they run from the bottom corner brackets up to the cable drums above the door). Any visible strand separation — even minor — is a fail. A partially frayed cable can snap without warning under the load of a closing door.
- Slack or uneven tension: Both cables should appear equally taut when the door is closed. A cable that hangs loose on one side indicates a spring or drum problem that’s overloading one side of the system.
- Rust or kinking: Like springs, cables corrode in heat. A kinked cable won’t unspool evenly from the drum and will fail prematurely.
What to check on hardware:
- All lag bolts securing track brackets to the wall framing should be flush and tight. Loose track mounting is a common issue in homes with wood-framed garages, which make up a significant portion of the housing stock in Northridge’s neighborhoods around Nordhoff Street and Tampa Avenue.
- Panel hinges should not show cracks in the metal around the bolt holes. Cracked hinges on steel doors are a sign of decades of stress cycling and should be replaced before they fracture completely.
5. Auto-Reverse and Sensor Alignment: Pass/Fail Criteria
Federal law (UL 325) requires all residential garage door openers manufactured after 1993 to include an auto-reverse safety system. This applies to every LiftMaster, Chamberlain, Genie, Craftsman, and Raynor opener in Northridge. The system has two parts: photoelectric sensors (the eye beam near the floor) and mechanical auto-reverse (force-sensing in the opener motor). Both need to work. Neither should be assumed to work just because the door opens and closes.
Photoelectric sensor test (perform monthly):
- Close the garage door using the wall button or remote.
- As the door descends, pass your leg or a broom handle through the sensor beam (positioned at the bottom of the door opening, typically 4–6 inches off the ground).
- Pass: The door immediately reverses direction and travels back to the fully open position.
- Fail: The door continues closing or reverses slowly (more than 2 seconds after beam interruption). Either sensor alignment is off, or the sensors need cleaning. In Northridge’s dusty environment, sensor lenses collect enough grit to cause false misalignment signals — wipe the lenses with a dry cloth before calling it a hardware failure.
Mechanical auto-reverse test (perform every 6 months):
- Place a 2×4 flat on the ground in the center of the door opening.
- Close the door using the remote or wall button.
- Pass: When the door contacts the 2×4 (approximately 1.5 inches of resistance), it immediately reverses and travels back up.
- Fail: The door continues pressing down on the 2×4, stalls, or reverses only after significant pressure. This means the force sensitivity setting on the opener needs recalibration — this is adjustable on most LiftMaster and Chamberlain models through the force adjustment screws on the motor housing, but if you’re unsure, it’s a two-minute fix when Anthony is already on-site for a maintenance visit.
6. Weather Seals and Bottom Seal: More Important Than You Think
Northridge averages only about 15 inches of rain per year, but when November through March storms arrive — sometimes with significant intensity — a failed bottom seal can push an inch of water under your garage door in a single event. Beyond water intrusion, a degraded seal is also an open invitation for the Valley’s abundant rodent population, dust during Santa Ana wind events, and a meaningful loss of conditioned air if your garage is attached to the house.
Bottom seal inspection:
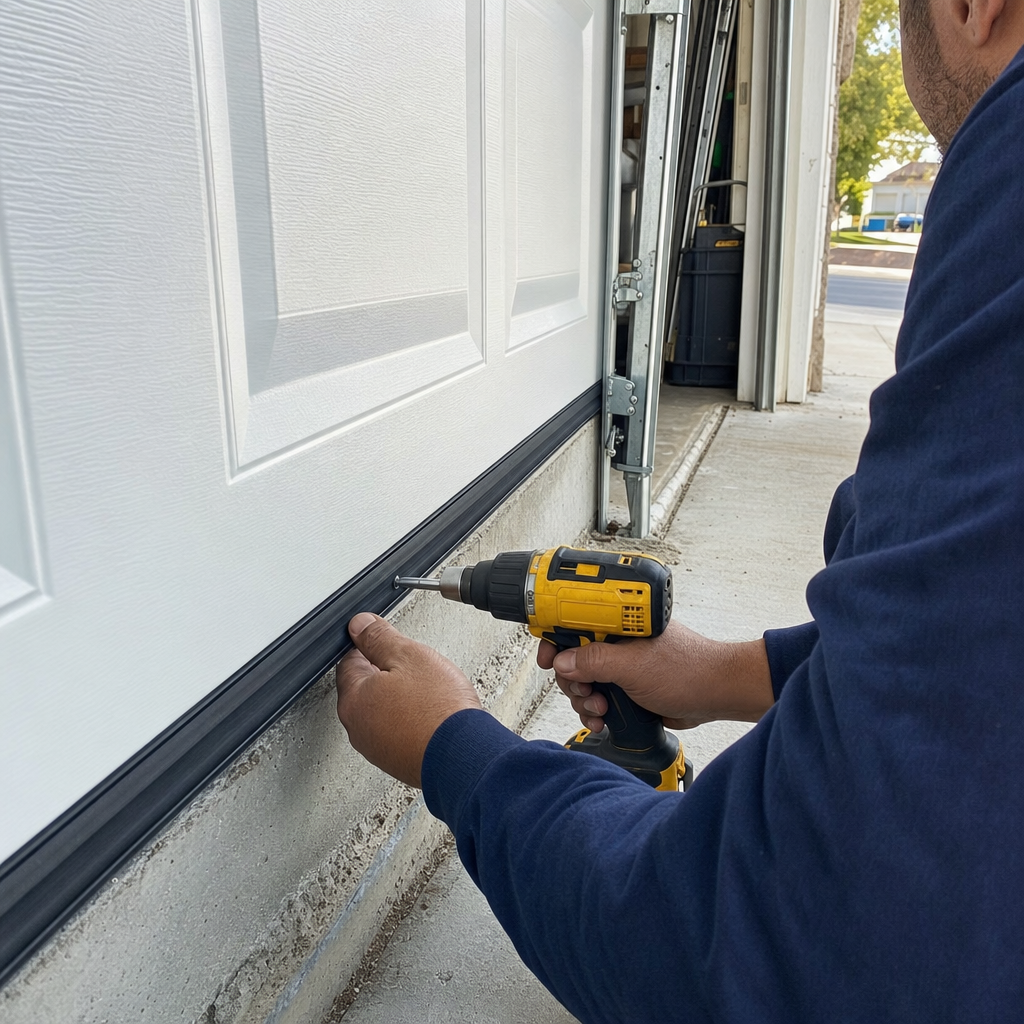
- With the door closed, look at the seal from outside at ground level. It should contact the floor continuously across the full width of the door with no gaps, cracks, or sections that have pulled away from the retainer channel.
- Rubber seals in Northridge’s climate typically last 3–5 years before UV exposure and heat cycling cause cracking. Vinyl seals last slightly longer.
- If you can see light under the door from inside the garage, the seal is failing. Replace it before the rainy season begins.
Side and top weatherstripping:
- Check the vinyl stop molding around the sides and top of the door frame. It should press firmly against the door panel when closed, with no visible separation or warping. Gaps here allow wind-driven dust — a real problem in Northridge during Santa Ana conditions — to pour into the garage.
7. Opener Performance Check: Balance Test and Force Settings
Your opener (whether it’s a belt-drive LiftMaster, a chain-drive Craftsman, or a wall-mount Chamberlain) should be doing very little actual lifting work. The springs carry roughly 95% of the door’s weight. If your opener is straining, the springs are the problem — not the motor. Here’s how to confirm.
Manual balance test:
- Disconnect the opener by pulling the red emergency release cord.
- Manually lift the door to waist height (approximately 3–4 feet off the ground) and let go.
- Pass: The door stays in place or moves less than an inch in either direction. The springs are properly balanced.
- Fail: The door drops toward the floor or rises toward the ceiling on its own. If it drops, the springs are under-tensioned (or partially failed). If it rises, they’re over-tensioned. Either state is a spring adjustment that needs a professional — and either state is also slowly burning out your opener motor.
While you have the opener disconnected, also check:
- Drive chain or belt: A chain-drive opener’s chain should have about 1/2 inch of sag at its midpoint. More sag than that causes the carriage to skip. A belt-drive unit should show no visible sag.
- Motor unit mounting: The opener should be securely mounted to the ceiling structure. Vibration from an unbalanced door eventually loosens mounting hardware. Check all four mounting bolts for tightness.
- Remote and keypad function: Test every remote and keypad in your household. A remote that requires multiple presses usually indicates a battery or antenna issue — not an opener failure — but it’s worth addressing before it becomes a problem at 11 PM on a rainy night.
If you’re considering an upgrade, our Garage Door Opener in Northridge page covers the full range of opener options we install and service.
8. Seasonal Timing: Which Checks Matter Most and When
In Northridge, the two most important maintenance windows align with the Valley’s two most demanding seasons: summer heat and winter rain. Here’s a practical split:
May Pre-Summer Check (Priority Items):
- Full lubrication of springs, hinges, and roller stems — heat accelerates metal-on-metal wear and evaporates existing lubricant faster than in cooler climates
- Spring visual inspection — thermal expansion in summer puts added stress on coils already showing wear
- Opener motor vent inspection — some older Genie and Craftsman openers have vent slots that collect Valley dust; a clogged motor runs hotter
- Manual balance test — springs expand and contract with temperature; a spring that was balanced in February may be slightly off by June
October Pre-Rain Check (Priority Items):
- Bottom seal and weatherstripping inspection and replacement if needed
- Sensor lens cleaning — morning marine layer from late-October storms deposits moisture on sensor lenses
- Cable and hardware inspection — moisture accelerates cable fraying on doors without a sealed bottom
- Track debris clearance — fallen leaves from the neighborhood’s mature trees (common along Nordhoff Street and near CSUN) pack into the lower track channel during fall and early winter
For a deeper look at what full maintenance service involves — and when to move from a DIY check to a professional visit — our main Victory Garage Door Solutions Northridge home page covers the full scope of what we offer.
Common Mistakes to Avoid
- Spraying WD-40 on springs or rollers. This is the single most common maintenance error we find on Northridge homes. WD-40 evaporates in valley heat, leaves a gummy residue that traps dust, and damages nylon roller wheels — use lithium grease spray or silicone lubricant instead.
- Attempting to adjust torsion spring tension. We get calls every year from Northridge homeowners who bought a winding bar kit online and ended up with a spring that snapped mid-adjustment. Spring tension holds hundreds of pounds of stored energy — this is not a cost-saving DIY task.
- Ignoring a door that’s “just a little slow.” A door that runs slower than it used to is telling you something: usually a balance problem, a roller in partial seizure, or a spring losing tension. Waiting turns a $150 maintenance fix into a $350+ emergency repair.
- Lubricating the vertical track sections. Many homeowners lubricate the entire track length, including the vertical sections. Lubricant in the vertical track causes the door to slide when it should hold — resulting in a door that drifts down on its own. Only the horizontal track sections and the track curve should receive lubricant.
- Skipping the sensor test because “the door opens fine.” The auto-reverse sensor can fail to detect objects even when the door operates normally otherwise. A sensor failure you don’t discover during a test is one that gets discovered when a child or pet is in the door’s path. Test monthly — it takes 30 seconds.
- Replacing only one spring when both are the same age. Torsion springs on two-spring systems are installed at the same time and wear at the same rate. When one breaks, the other is usually within weeks of following. Replacing both at once costs less than two separate service calls and avoids the second emergency.
- Using a cracked or degraded bottom seal through another rainy season. Given Northridge’s occasional high-intensity winter storms, a failed bottom seal can allow enough water intrusion to damage stored belongings, drywall, or flooring. The seal itself is inexpensive; the water damage it prevents is not.
When to Call a Professional
Some things on this checklist lead to a professional call — not because a homeowner couldn’t physically attempt the repair, but because the risk of injury or making the problem worse is real. Call a pro immediately if you observe any of the following:
- A visible gap, crack, or separation anywhere in a torsion spring
- A frayed, kinked, or slack lift cable
- A door that fails the manual balance test (drops or rises when released at mid-height)
- A door that passes through the auto-reverse sensor beam and doesn’t stop or reverse
- A bent or separated track section
- Cracked panel hinges on a steel door
- Any situation where the door won’t open and you need vehicle access
Anthony Thompson handles every one of these repairs personally — when you call Victory Garage Door Solutions Northridge, the person who answers and the person who shows up are the same. For a free estimate, call (424) 437-2670. If it’s urgent, say so — emergency response is part of what we do, not an add-on.
Frequently Asked Questions
How often should I lubricate my garage door in Northridge?
Twice a year — once in May before summer heat peaks and once in October before the rainy season. Northridge’s dry San Fernando Valley climate evaporates lubricant faster than coastal areas, so an annual schedule that works elsewhere isn’t enough here. Use lithium grease spray on metal components and silicone spray on nylon rollers and weatherstripping. Call (424) 437-2670 if you’d like Anthony to handle a full lubrication and inspection visit.
How do I know if my garage door springs need to be replaced?
Look for a visible gap or separation in the spring coils, uneven coil spacing, surface rust or pitting along the coil length, or a squeaking/popping sound during door operation. If you see any of these, the spring is at or near failure. Do not attempt to adjust or replace springs yourself — the stored tension in a torsion spring can cause serious injury. Call (424) 437-2670 for a free assessment.
Can I do the garage door maintenance checklist myself, or do I need a technician?
Most of the visual inspections — springs, rollers, tracks, cables, seals, and sensor tests — are safe for a homeowner to perform. Lubrication is also a straightforward DIY task with the right product. What requires a professional: spring tension adjustment, cable replacement, track realignment, and opener force recalibration. A good rule of thumb is that if it involves a component under tension or stored energy, don’t adjust it yourself.
What’s the average lifespan of a garage door spring in Northridge?
Standard residential torsion springs are rated for 10,000 cycles. At four door cycles per day, that’s roughly 6–7 years of life. In Northridge’s climate, thermal cycling from the Valley’s extreme summer heat can accelerate metal fatigue, so springs on homes without a consistent lubrication schedule sometimes fail closer to the 5-year mark. Upgrading to high-cycle springs (rated for 25,000–50,000 cycles) at replacement time is an option worth discussing — Anthony can advise on what makes sense for your door and usage pattern.
How much does a garage door tune-up cost in Northridge?
A standard professional tune-up in the Northridge market typically runs $80–$150 and includes lubrication, hardware tightening, balance check, sensor test, and a visual inspection of all major components. If repairs are identified during the tune-up — a worn roller set, a fraying cable, or a bottom seal replacement — those are quoted separately before any work begins. Victory Garage Door Solutions Northridge offers free estimates, so you know the full scope before you commit. Call (424) 437-2670 to schedule.
Is it time to replace my garage door instead of repairing it?
Repair is almost always the right call for a structurally sound door — even if the opener, springs, and rollers all need attention at the same time, the combined cost of components and labor is typically well below a full door replacement. Replacement makes sense when the door panels themselves are severely damaged (buckled steel, cracked composite sections, warped wood), when the door is significantly under-insulated for an attached garage, or when the homeowner wants to update the home’s curb appeal. Our Garage Door Installation in Northridge page covers replacement options across every major brand we carry. If you’re unsure which direction makes financial sense, Anthony will give you a straight answer — not the more expensive one by default.
The Bottom Line
A garage door failure in Northridge is almost never truly sudden. The gap in the spring, the seized roller, the fraying cable — they announce themselves weeks ahead of time, to anyone who knows where to look. This checklist gives you that eye. Run through it twice a year, follow the lubrication schedule, and test your auto-reverse sensor every month. The fifteen minutes you spend on a May inspection can save you a same-week emergency call in August. And when something on this list shows a clear fail — springs, cables, balance, sensors — don’t guess. One call to Anthony at (424) 437-2670 gets you a free estimate from the person who will actually do the work. That’s how 1,455 five-star reviews get built, one honest job at a time.
Written by Anthony Thompson, Owner & Lead Technician at Victory Garage Door Solutions Northridge, serving Northridge since 2018.